3D Dreamcatcher Shadow Box SVG Template: A Practical Guide to Flawless Results
There is a distinct warmth that only a handcrafted shadow box can bring to a room. When light filters through layered paper, it transforms flat walls into canvases of depth and mystery. The 3D Dreamcatcher Shadow Box SVG Template offers a specific pathway to achieving this look without the steep learning curve often associated with papercraft. This digital design allows you to create a glowing, magical dreamcatcher encased in a decorative patterned frame, perfectly suited for Scandinavian or Boho interiors. However, simply downloading the files does not guarantee a stunning result. The difference between a charming heirloom and a frustrating pile of paper often lies in the details most creators overlook before they even make the first cut.
Understanding the Design and Its Potential
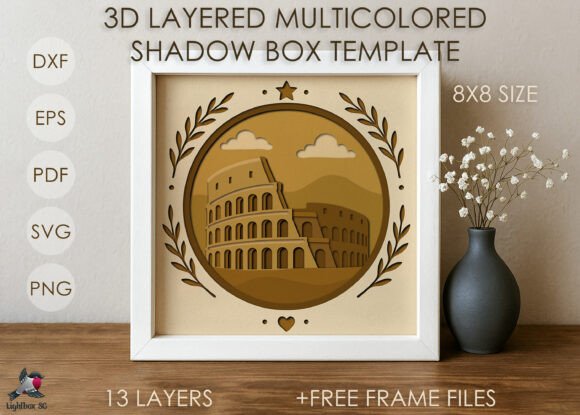
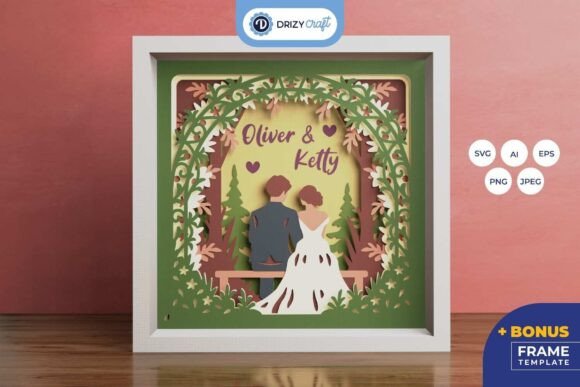
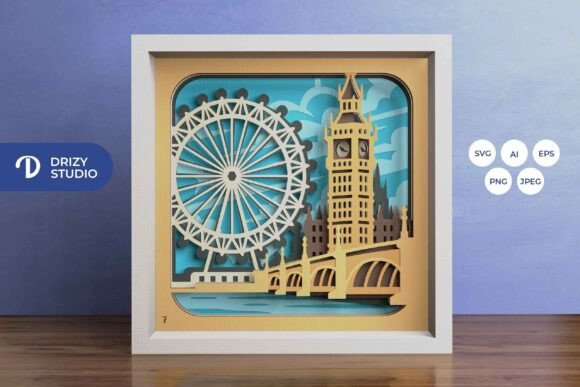
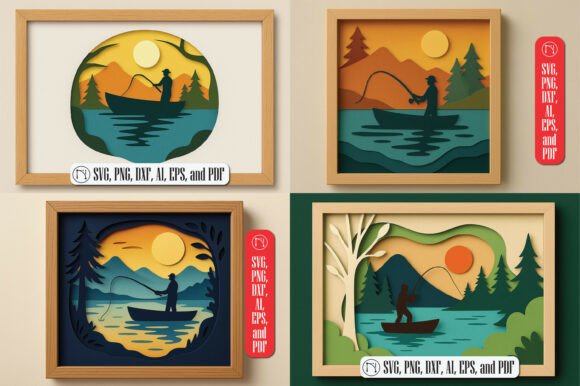
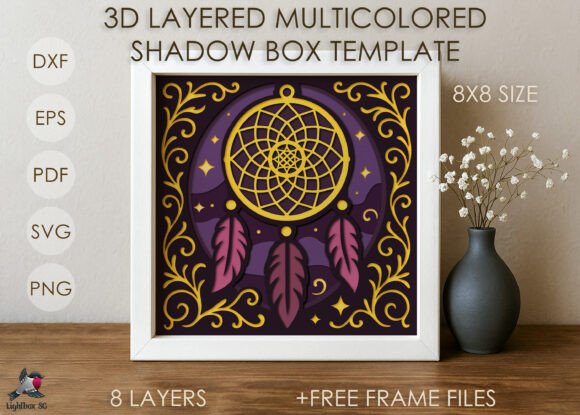
This template is more than just a single image; it is a complete system for building a three-dimensional art piece. Designed with an 8 x 8 inch footprint, it includes four distinct illustrations that layer together to form the final composition. The aesthetic relies on warm neutral tones, making it versatile enough to blend with modern minimalist decor or add texture to rustic spaces. Whether you intend to use it as a standalone wall hanging or integrate it with an LED strip for a glowing nightlight effect, the potential for customization is significant. The files provided—SVG, PDF, DXF, EPS, and PNG—are engineered to work seamlessly with popular cutting machines like Cricut, Silhouette, and Brother, yet they are also optimized for those who prefer the tactile experience of hand-cutting with scissors or an art knife.
The appeal of this project lies in its ability to turn standard colored cardstock into a sophisticated interior statement. Yet, many hobbyists approach this project with the mindset of a simple print-and-cut task, underestimating the material requirements and assembly precision needed to maintain the structural integrity of the layers. To get the most out of your 3D Dreamcatcher Shadow Box SVG Template, you must treat the process as a construction project rather than a casual craft session.
Common Pitfalls That Compromise Quality
One of the most frequent mistakes I see is the selection of inappropriate paper weight. The instructions specify using 65 lb (170-180 gsm) cardstock, but beginners often substitute this with standard printer paper or thin scrapbook paper. While thinner paper might seem easier to cut, it lacks the rigidity required to stand up against gravity within a deep box frame. If the paper is too flimsy, the delicate layers of the dreamcatcher will droop or collapse, ruining the 3D illusion. Conversely, using cardstock that is too thick can cause the cutting blade to struggle, leading to jagged edges or incomplete cuts that require tedious cleanup.
Another overlooked detail involves the scaling of the design. The template is designed at 8 x 8 inches, which fits standard deep box frames available in most craft stores. Some users attempt to resize the file drastically to fit smaller frames or larger sheets of paper without adjusting the layer spacing. When you shrink the design too much, the intricate patterns of the dreamcatcher web become indistinguishable, and the "glow" effect diminishes because the gaps between layers are too narrow for light to pass through effectively. Similarly, enlarging the design beyond the capacity of your cutting mat or paper sheet leads to misalignment during the weeding process.
Misunderstanding the role of the "readme.txt" file is also a critical error. This small text file contains vital information regarding layer order, color mapping, and specific cutting settings. Skipping this step often results in assembling the layers in the wrong sequence, which can completely alter the visual depth of the dreamcatcher. Without the correct stacking order, the decorative frame may obscure the central motif, or the shadows may fall in unintended directions, flattening the image.
Strategic Approaches for Better Outcomes
To avoid these issues, start by verifying your materials against the specifications. Invest in high-quality colored cardstock within the 170-180 gsm range. This weight provides the perfect balance: it is sturdy enough to hold its shape when inserted into a deep box frame but flexible enough to be cut cleanly by both machine blades and art knives. If you are using a cutting machine, perform a test cut on a scrap piece of the same paper to calibrate your pressure and blade depth settings. This small investment of time prevents wasted material and ensures smooth lines, which are essential for the clean aesthetic of Scandinavian decor.
When working with the digital files, resist the urge to arbitrarily resize the entire project. If you need a different size, adjust the dimensions proportionally while keeping the relative distance between layers intact. For the best results, stick close to the original 8 x 8 inch scale unless you have a specific frame in mind that accommodates a precise alternative size. Remember that the magic of the shadow box comes from the interplay of light and shadow; maintaining the intended spacing is crucial for this effect.
Always open the included readme.txt file before you begin. Use it as your roadmap. It will guide you through the assembly process, ensuring that each of the four illustrations is placed in the correct order. If you plan to add an LED strip, consider the power supply and placement early in the process. You want the light source to be positioned so it illuminates the back layer without casting harsh hotspots on the front. A battery-operated strip with a dimmer function often works best, allowing you to control the ambiance without dealing with visible wires or plugs near the artwork.
Evaluating Your Tools and Workflow
Before committing to the full project, assess your workspace and tools. If you are hand-cutting, ensure you have a sharp art knife and a self-healing cutting mat. Dull blades will tear the paper fibers, creating rough edges that catch the light poorly and look unprofessional. For machine users, ensure your mat has strong adhesive properties suitable for cardstock; weak adhesion can lead to shifting during the cut, resulting in misaligned layers. Additionally, check that your software (Design Space, Silhouette Studio, etc.) supports the file formats provided. While the package includes SVG, PDF, DXF, EPS, and PNG, compatibility varies slightly between versions of software. Having the correct version installed beforehand streamlines the workflow significantly.
Consider the framing aspect carefully. A standard picture frame with glass is not sufficient for this project. You need a deep box frame, often called a shadow box frame, to accommodate the thickness of the multiple paper layers plus any backing board you choose to use. If the frame is too shallow, the layers will be compressed, destroying the 3D effect. Alternatively, if you opt for a plastic cover instead of glass, ensure it is scratch-resistant and clear, as any distortion will ruin the clarity of the intricate dreamcatcher pattern.
Final Thoughts on Execution
The 3D Dreamcatcher Shadow Box SVG Template is a powerful tool for transforming simple materials into a captivating piece of home decor. By paying attention to paper weight, respecting the design's scale, following the assembly instructions meticulously, and choosing the right framing hardware, you can avoid the common frustrations that plague DIY projects. This approach not only saves money on wasted supplies but also ensures the final product meets the high standards of quality expected in modern interior design. Whether you are creating a gift for a loved one or enhancing your own living space, taking these corrective steps will lead to a glowing, professional-looking shadow box that stands the test of time.